Go to Services >> EC2 >> Instances.
Obtaining the Public IP and Instance ID
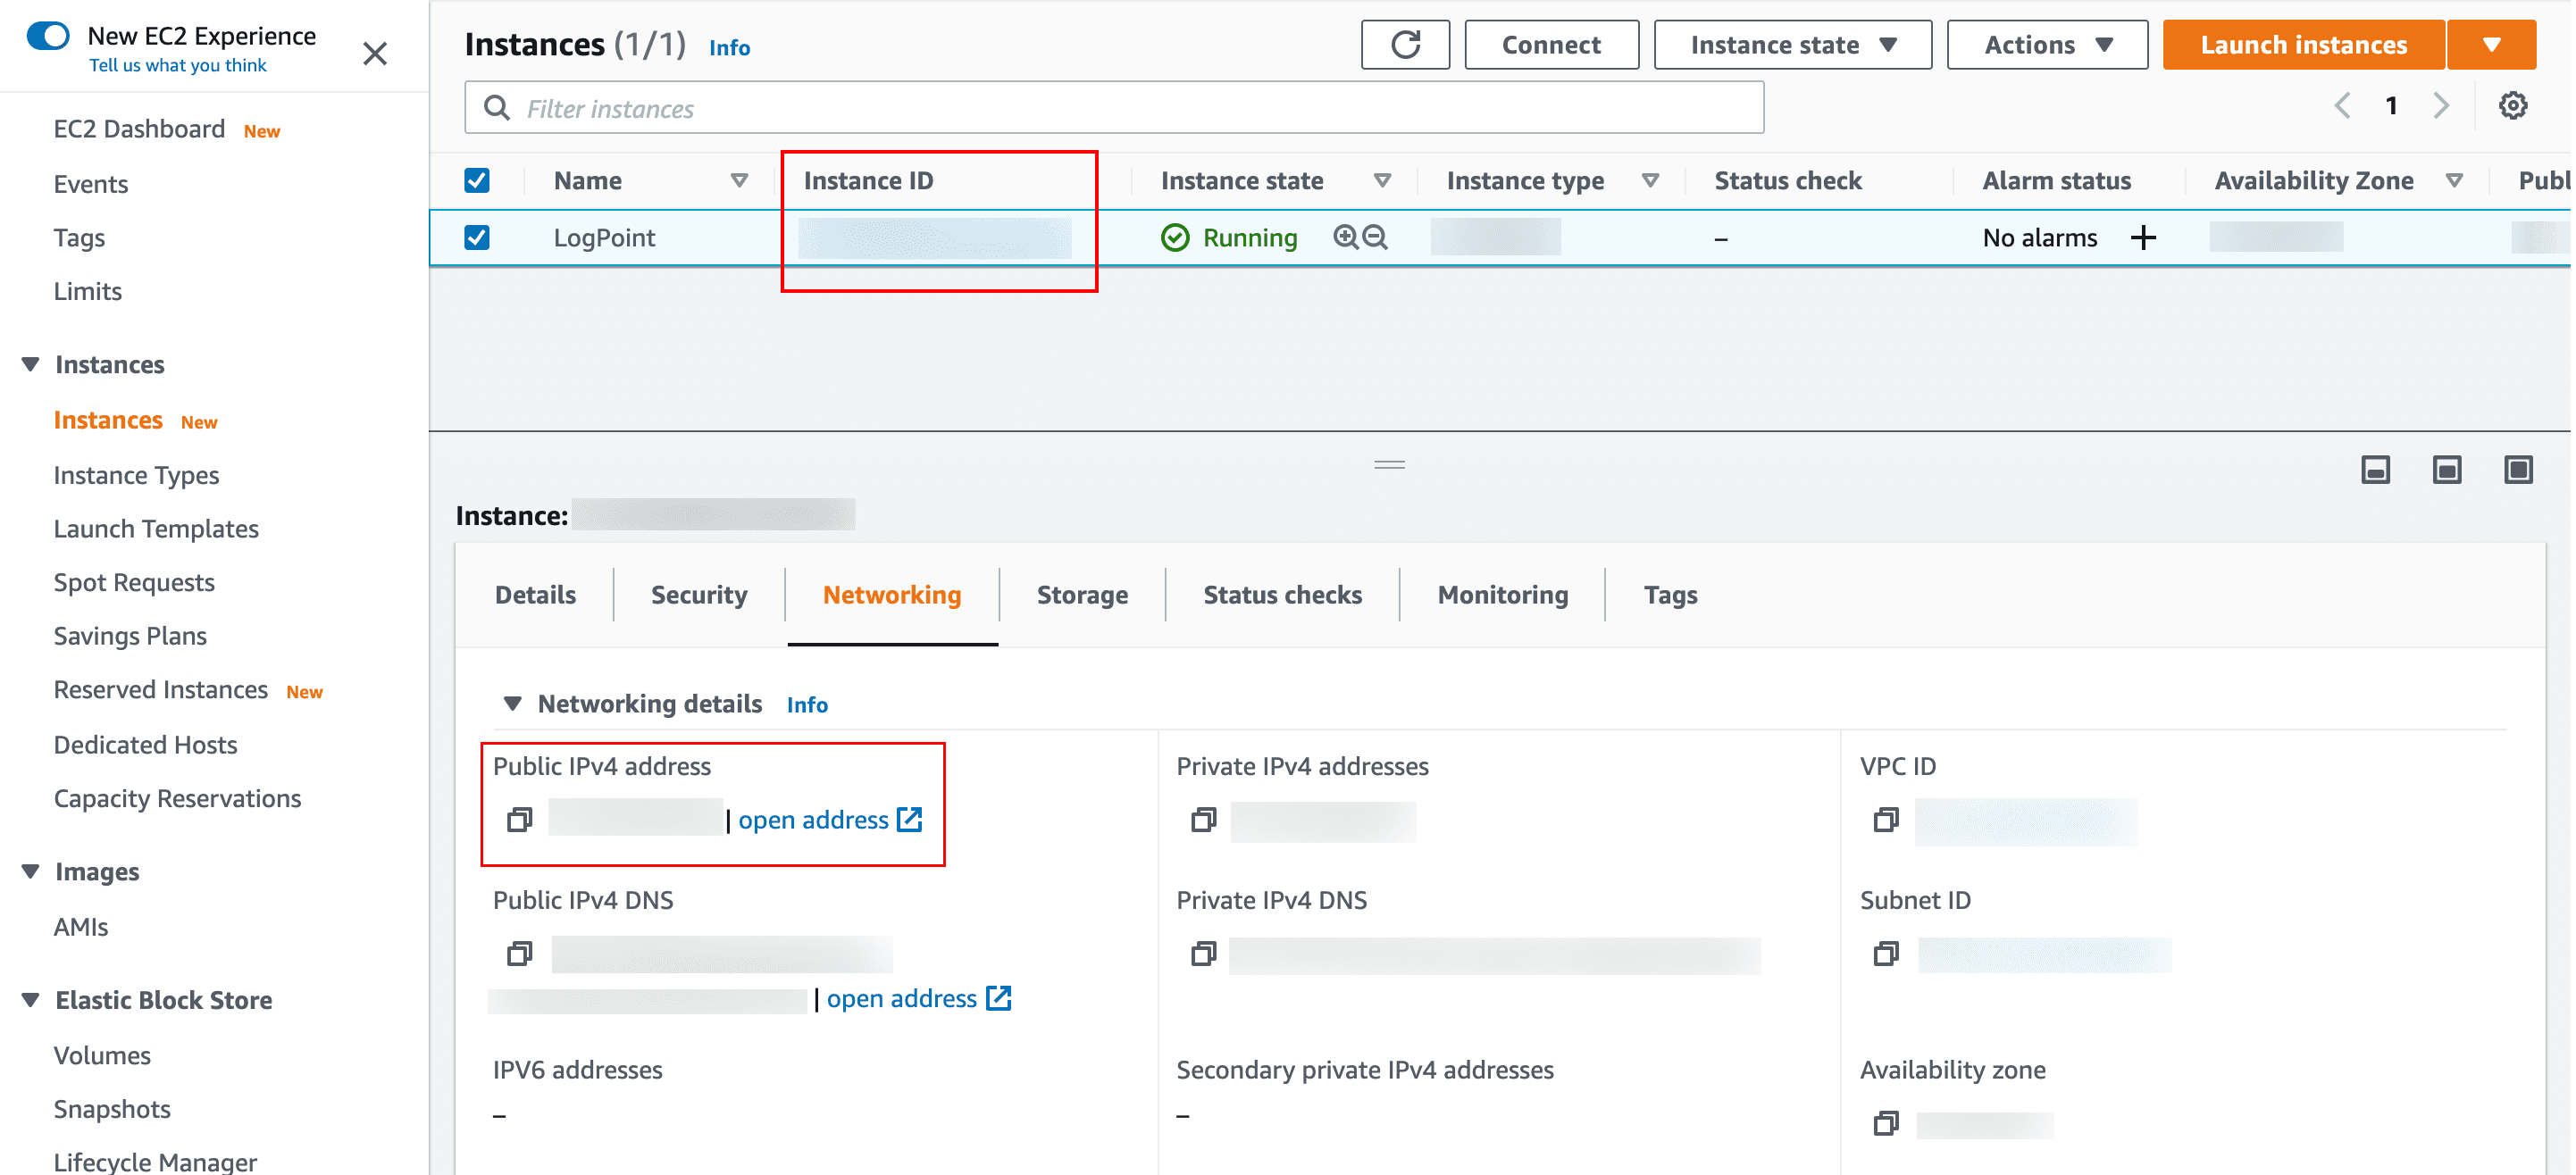
Select the Logpoint instance from the list of the available instances.
Go to the Networking tab and note the Public IPv4 address and the Instance ID. The public IP works as the URL to access your Logpoint from the user interface and to establish an SSH connection from remote devices.
Note
We recommend you change the IP address of the deployed Logpoint instance directly from the AWS console. If you change the IP address using the change-ip command, make sure it matches the IPv4 address in the AWS console.
Enter the public IP address in a web browser.
Example: https://10.10.98.68
Log into the user interface using the following credentials.
Username: admin
Password: <Instance ID>
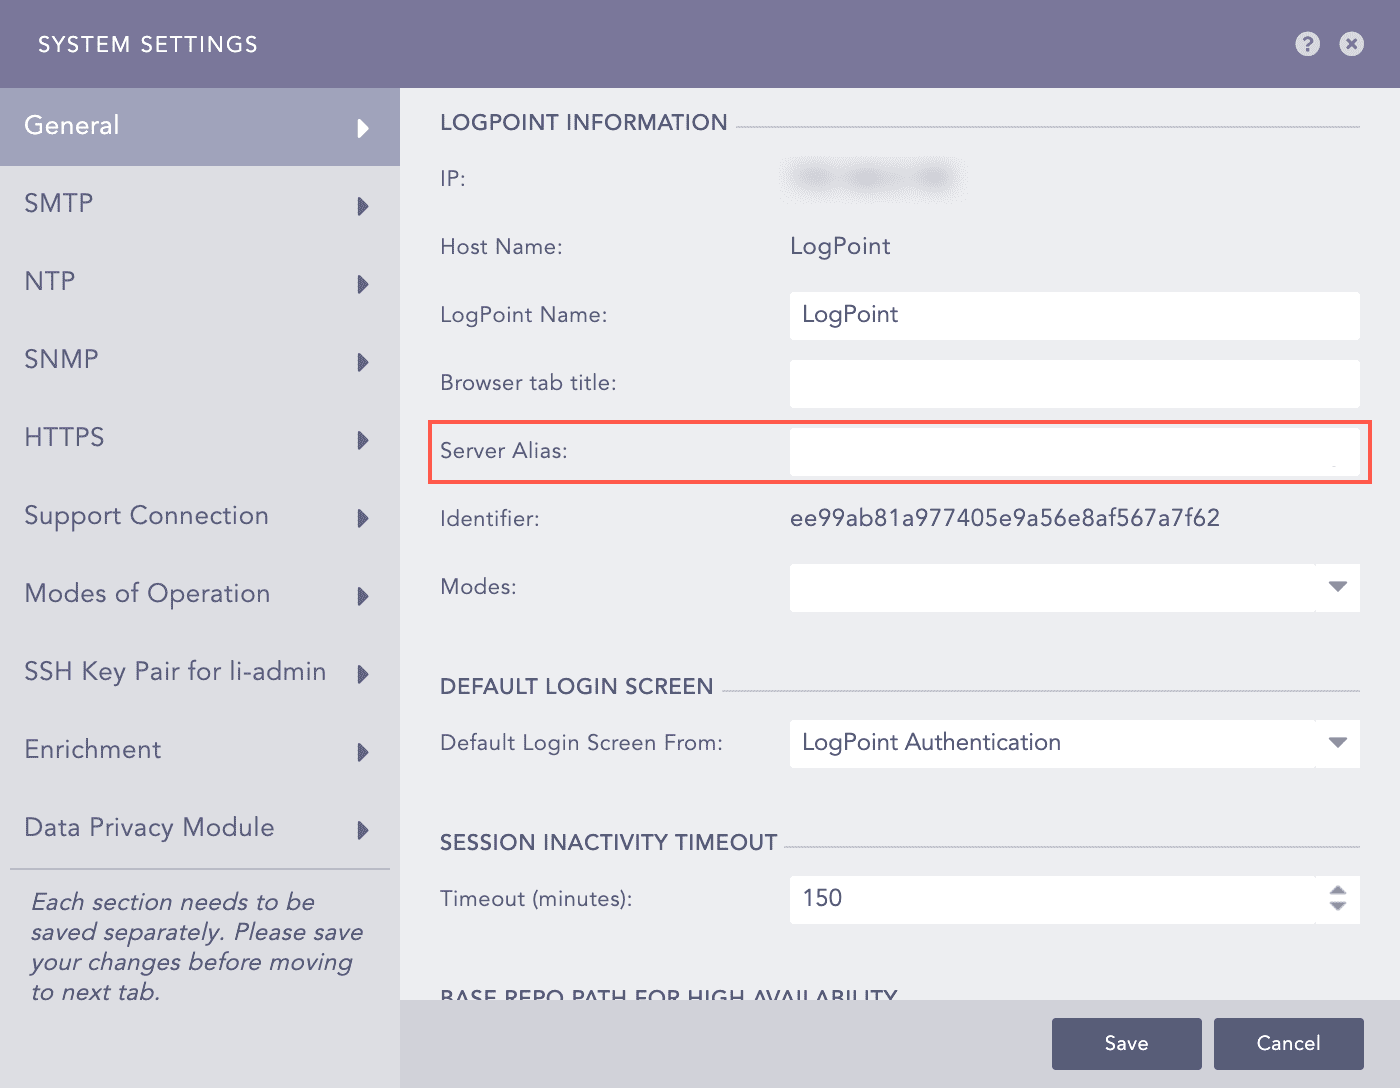
We recommend you set the Public IP of the instance as the Server Alias after you log in. Go to Settings >> System >> System Settings >> General to set the Server Alias.
To establish an SSH connection for the li-admin user:
Open the command prompt.
Locate the downloaded key pair file.
Use the chmod 400 <filename> command.
Example: chmod 400 Logpoint.pem
Use the ssh -i "<filename>" li-admin@<Logpoint_Server_IP> to establish SSH connection from the remote device.
Example: ssh -i “Logpoint.pem” li-admin@10.10.98.68
Note
Contact the Logpoint Support team if there are any issues. For details on troubleshooting and support, go to Support Connection.